Different approaches to building web forms with formester.

Backend as a service
With formester, you can integrate your excellent web forms to our robust backend. Building web forms has always been a challenge. Each time you build a web form for your website, you need a backend along with a database for your form. And building a backend just for your web forms doesn’t sound justified.
At formester, we provide backend as a service for your web forms. All you need is to point your web forms to our URL.
Steps to use formester only as backend:-
Step one - Signup for formester and you will land at the forms page, which will look something like this -

Click the create form button.
Step two - You need to fill in some details for creating the form, this includes the form name, redirection URL, email notification, and type of service.

Form name - This refers to the form name which you would like to create
(example - Hiring Form)
Redirection URL - This is the URL where the target audience will be redirected once they submit your form.
(example - https://www.acornglobus.com/)
Though it is optional and can be left blank. By doing so the users will be redirected to a cool thank-you page.

Email Notification - This is the email address, where you will receive notifications related to the form, like submissions.
Type of Service - Here you can select either the default or Backend only option. In this case, you should select Backend only for using formester as a backend service in your web form. The default option comes up with the form builder. We will talk about it in the next approach.

Step Three - Once you have filled out the form details. You will land up in the configure page. There you will find a couple of options, the main thing is to copy the action URL and add it to your web form code. You can refer to the code samples you will get there. That’s it! Now you are good to receive submissions in your web form and can view all of them under the submissions section.

Build forms with drag and drop
With Formester, we provide an interactive, easy-to-use drag and drop interface. Create surveys, registration forms, and a lot more with our form builder. It also comes with a live preview feature to test what you create, on the fly.
Steps to build forms with form builder:-
Step one - Sign Up for formester and you will land at the forms page, which will look something like this -

Click the create form button.
Step two - You need to fill in some details for creating the form, this includes the form name, redirection URL, email notification, and type of service.

Form name - This refers to the form name which you would like to create
(example - Hiring Form)
Redirection URL - This is the URL where the target audience will be redirected once they submit your form. (example - https://www.acornglobus.com/)
Though it is optional and can be left blank. By doing so the users will be redirected to a cool thank-you page.

Email Notification - This is the email address, where you will receive notifications related to the form, like submissions.
Type of Service - Here you can select either the Default or Backend only option. In this case, you should select the Default option for using the form builder feature.

Step three - Now you will land into an interactive drag and drop builder. Get started by dragging your first question or form component from the component bar on the left side, and dropping it into the form section in the middle.

Drop more components from a varied range of choices ranging from email, name, date, and time to complex fields like address, star rating, file uploader, image, and a lot more.
Use the settings bar on the right side of the builder to do form-level settings. Customize your form as much as you need. Set font family, form background color, text color, font size, and a lot more. You can even upload background images to the form and can also upload a logo like your company logo to give the form your organization's look and feel. You can also increase or decrease the margin between form elements using the field top and bottom margin settings.
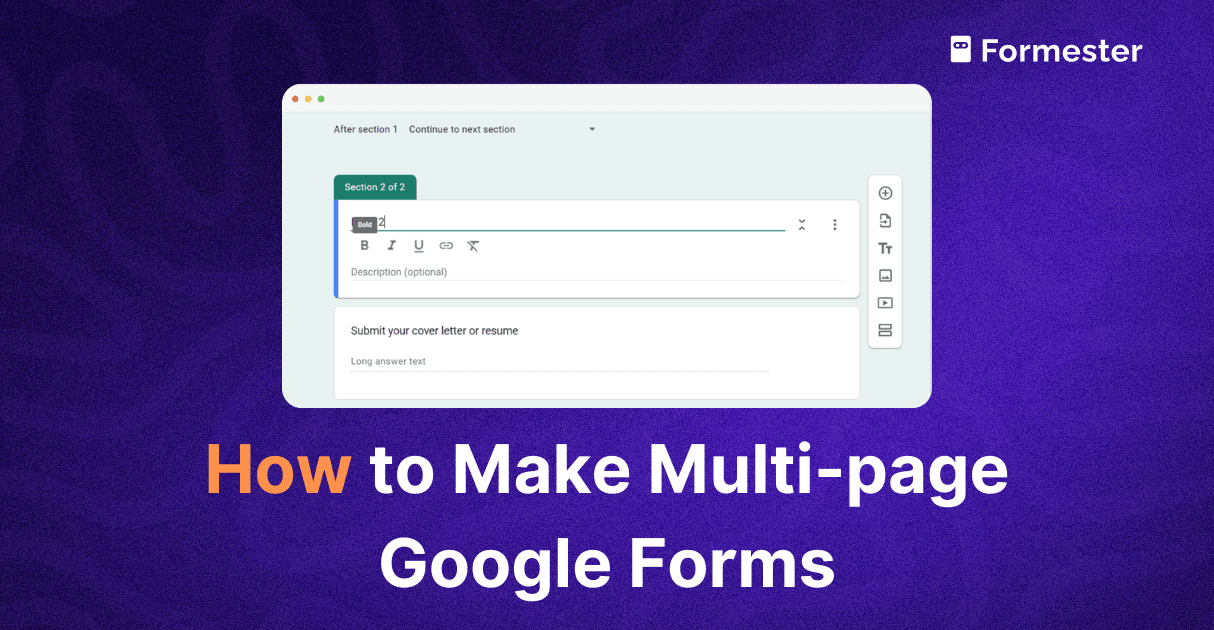
Apart from the general settings, you can toggle to the advanced settings for getting more control over the overall form’s layout. Toggle between single-page or multi-page forms with just a click of a button. Switch between in-form and out-form logo positions and a lot more. At Formester, we provide element-level customization and settings too. The different elements which you drop into the form come along with their individual settings. You can access those settings by clicking on the element once you have added them to the form. Once you click on an element you have added to the form, a new element settings bar will transition from the left side. This element-level settings bar carries along with it a bunch of additional customizations and settings for individual form elements. Apart from this the element settings bar is also very important from the perspective of adding and editing questions or labels in the form.
While doing all of this, you can simultaneously save and preview the form by using the preview feature. This will help you to build the form better and will keep you in sync with how the form is emerging. Once you are satisfied use the publish button to get the form link along with some quick social media actions links. Copy the form link from there and That’s it! Now you are good to share the link on any channel you want. You can also embed this link to CTA buttons on your own website.

Each submission you receive will appear in the Submissions tab of Formester, from where you can access it easily.
Here's an example of a form built using Formester

It is my hope that this blog is helpful to you, and that now you have all the information you need to build your first form with Formester.