How to Create a Fillable Form in Microsoft Word?
Fillable forms are documents that let you add and edit information directly within the fields. Learning how to make a fillable form in Word can help you go paperless and speed up how you handle information.
Electronic forms save time by removing the need to transfer data from paper to your computer. They also make it easier to share, store, and send information.
This guide will show you the steps on how to make a fillable pdf form in Word. We’ll also look at the pros and cons, offer design tips, and explain how to sign and share your forms using PDFs.
Step 1: Enable the Developer Tab
Before you can start creating fillable forms, you need to enable the Developer Tab in Word. Here’s how: File menu -> Options -> Customize Ribbon -> Select Developer -> Select OK
Open Word and go to the File menu.

Select Options.

In the Word Options dialog box, select Customize Ribbon.

In the right column, check the box next to Developer.

Click OK.

Now, you’ll see the Developer Tab in your top ribbon.

Overview of Developer Controls
The Developer Tab gives you access to various controls that help you create fillable forms. These include text boxes, checkboxes, drop-down lists, and more. You’ll use these controls to design your form.
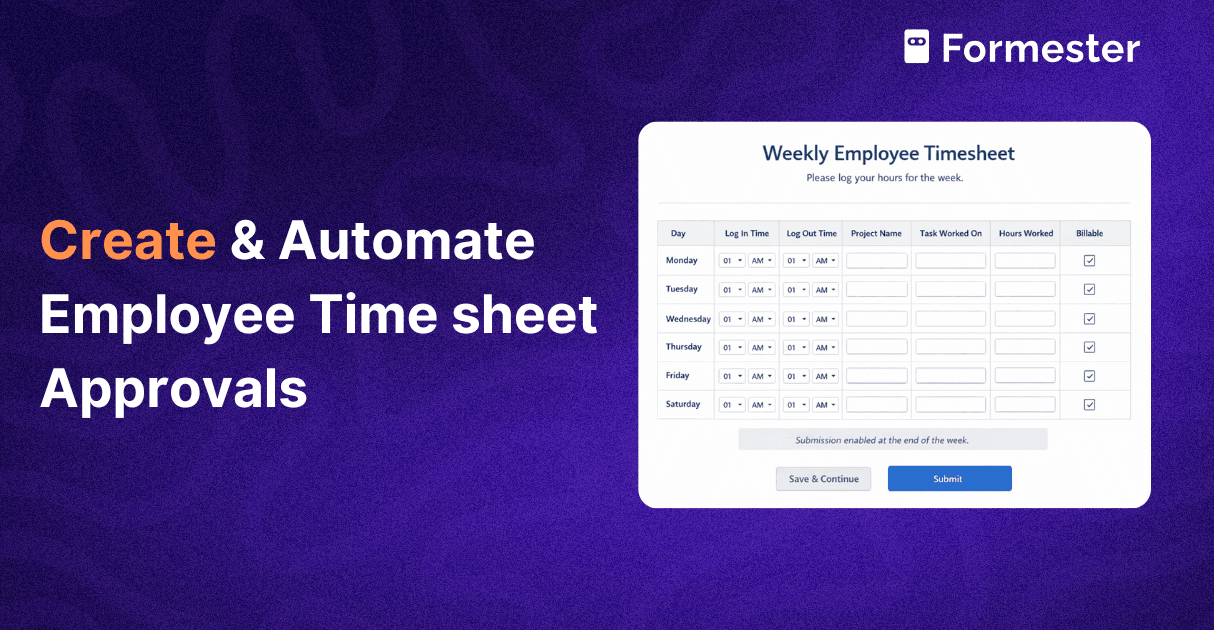
Pro Tip: If this process seems too technical or time-consuming, you might prefer using a free html form generator like Formester. Formester offers a user-friendly interface for creating fillable forms without needing to enable developer tools.
Step 2: Organize the content
Before you start designing your forms, it’s always good to organize the content that will go into your form or survey. To do this, follow these steps;
Define the Form Objective - Clearly define the primary purpose of your form or survey. What information do you want to gather?
Choose the Target Audience - Determine who will be taking your survey. The audience should be relevant to your objective.
Design the Questions - Use a mix of question types (multiple choice, rating scales, open-ended, etc.) to gather comprehensive data.
Structure the Survey - Organize questions logically, starting with easier questions and progressing to more specific ones. Group similar questions together.
Example:

Note: If you are struggling to organize the content or the layout of your survey or form, feel free to explore our wide collection of beautiful & free form templates at Formester.
Step 3: Design the Form
Enter Design Mode
- Go to the Developer Tab and click Design Mode.

Add and Customize Form Controls
Text Fields: Click the Textbox control to add a text field where users can type.

Checkboxes: Click the Checkbox control to add a checkbox.

Drop-down Lists: Click the Drop-Down List control to add a list users can choose from.

Date Picker: Click the Date Picker control to add a calendar tool for selecting dates.

Step 4: Finalize the Form
Test the Form
Switch out of Design Mode and test each field to make sure it works as expected.
Save and Distribute the Form
Save your form as a Word document and share it with others. Users can fill out the form and return it to you electronically.
Note: Formester allows you to set validation rules using conditional logic and instructions easily. It streamlines the form creation process and ensures accurate data collection.
Pros and Cons of Fillable Forms in Word
Pros
- You can tailor the form to your specific needs, whether it’s for text, dates, or numbers.
- Electronic forms can include validation rules to help users input data correctly.
- Drop-down lists, checkboxes, and other controls make forms easy to use.
Cons
- You need to enable the Developer Tab to access form tools.
- Users might accidentally change the form's layout or content.
- Forms may not look the same in different versions of Word.
Alternative: Consider using Formester for its compatibility across different devices and browsers. This reduces the risk of formatting issues when sharing forms.
Advanced Tips for Designing Fillable Forms
Rich Text vs. Plain Text Fields
- Rich text allows multiple fonts and formatting options.
- Plain text prohibits formatting to keep the form consistent.
Using Picture Controls
- Add a Picture control to let users insert a single photo.
Add Combo Boxes and Drop-Down Lists
- Combo Box: Users can either choose from a list or enter their own text.
- Drop-Down List: Users can pick from several choices that appear when clicking the list arrow.
Adding Date Pickers and Checkboxes
- Date Picker: Lets users select a date, which the control formats automatically.
- Checkbox: Adds a checkbox to the form.
Utilizing Legacy Tools for Compatibility
- Legacy tools offer form controls from older versions of Word, ensuring better compatibility.
Pro Tip: If these options seem overwhelming, Formester offers pre-designed templates with rich customization options. This makes it easier to create professional forms quickly.
Post-Creation: Signing and Sharing Your Fillable Form
Converting the Form to PDF
Once you’ve created your fillable form in Word, you might want to convert it to a PDF for easier sharing and signing. Here’s why:
The Benefits of PDFs are its ability to maintain their formatting across different devices and software, making them ideal for sharing.
Signing the Form Electronically
To sign a PDF fillable form, you can use tools like Adobe Acrobat or other PDF editors. Here’s how:
- Convert your Word form to PDF.
- Open the PDF in your chosen editor.
- Use the editor’s signing tools to add your signature.
Sharing and Storing the Signed Form
Once signed, you can share and store your form securely. Here are some tips:
- Send the signed PDF via email.
- Use cloud services like Google Drive or Dropbox for secure storage and easy access.
Pro Tip: Formester provides seamless integrations with various applications, allowing you to easily share and store forms securely. This enhances your overall workflow efficiency.
Recap
Creating fillable forms in Word is a great way to streamline data collection and go paperless. Follow this guide to create professional and user-friendly forms that will streamline your data collection process and save you time.
Whether you choose to use Microsoft Word or an online form builder like Formester, the key is to find the method that works best for you and your needs.
If you want to create and manage fillable forms more easily, try using Formester. It offers a simpler and less technical approach. This can help you achieve a paperless and efficient workflow.