A contact form is the single most important lead-capture element on most small-business sites, and yet most sites either have no form at all or one that dumps to a mailbox nobody checks. This guide walks you through five ways to build a working contact form in 2026, from a two-minute no-code build to a raw HTML form with your own backend, and shows you which method fits which site.
What you need before you start
Before picking a method, three things need to be settled:
- The email address that receives the submissions. For most small sites,
hello@yourdomain.comorcontact@yourdomain.com. Not a personal Gmail if you can help it. - The fields the form should collect. Bare minimum: name, email, message. If you plan to route based on the ask (support versus sales), add a "Reason for contact" dropdown.
- Where the form will live on your site. A dedicated
/contact/page is standard. A form in the footer, a slideover on the pricing page, or a modal on the homepage all work if the volume is there.
If those three are settled, pick a method below.
Method 1: A no-code contact form builder (2 minutes, recommended for most sites)
The fastest method by a wide margin. Works on any CMS or hand-built site.
Step 1. Sign up for Formester. Free plan, no card. Takes 30 seconds.
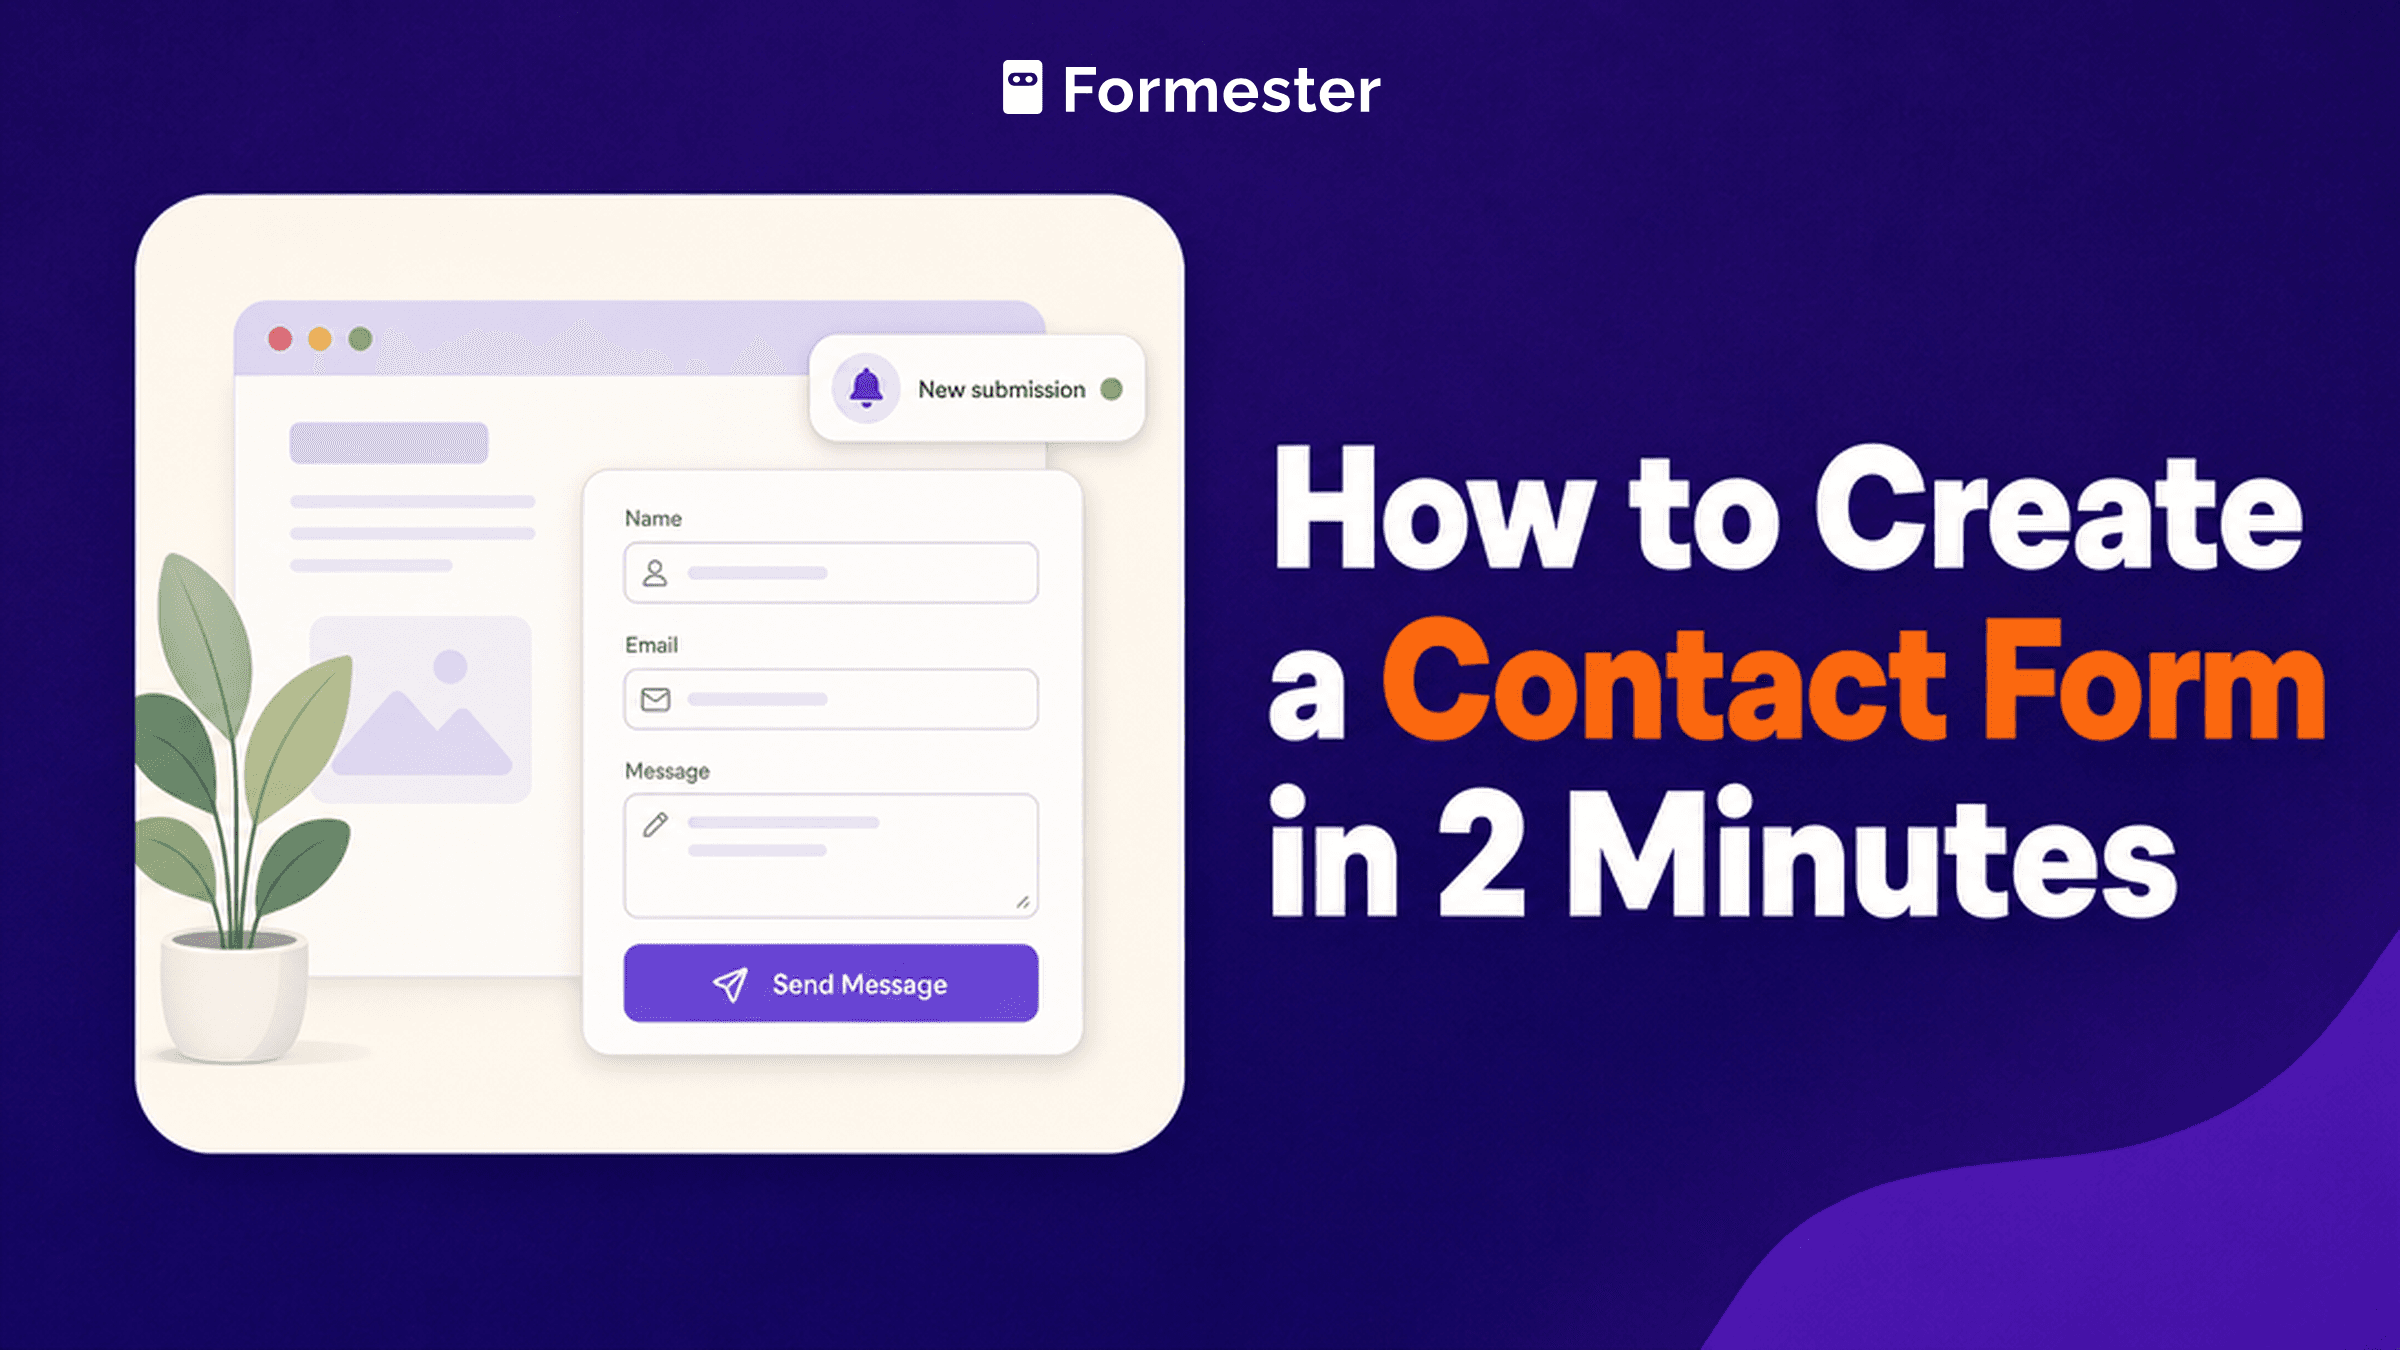
Step 2. Start from a contact form template. In the dashboard, click "New form" and pick the "Contact form" template. It ships with name, email, and message fields, and it's pre-styled to look neutral on any site.
Step 3. Edit the fields. Rename labels to match your voice ("What's your name?" instead of "Full name" if you like), add a "Reason for contact" dropdown if you want routing, and drop any fields you don't need. Every field type ships on the free plan.
Step 4. Connect the email address that receives submissions. In the Notifications tab, set the destination email. Turn on Autoresponder so the person submitting gets a receipt. Both settings are free.
Step 5. Style the form. Match your brand color and font in the Design tab. If your site is WordPress or Webflow, this takes about 30 seconds.
Step 6. Publish and embed. Click "Publish", copy the embed code, paste it into any HTML block on your site. The form loads inline and stays responsive.
Total time: Under two minutes on a fresh account.
When this method fits: Any small site, agency site, freelance portfolio, SaaS landing page, event page, blog. If you don't want to touch code, this is the method.
When it does not fit: If you have strict compliance requirements that need self-hosting (HIPAA-compliant patient data on your own server), you need Method 4 or Method 5 instead.
Skip the boilerplate. Ship a contact form in two minutes
Formester's free plan ships unlimited forms, unlimited responses, spam protection, and every field type. Embed on any site. No card, no cap.
Free forever plan • No credit card • Setup in 2 minutes
Method 2: WordPress contact form plugin (5 minutes, WordPress sites)
If your site is WordPress and you want everything inside the WP admin, use a form plugin.
Step 1. Install a form plugin. From Plugins > Add New, search "contact form". Top picks: Contact Form 7 (free, minimal), WPForms (free tier + paid), Gravity Forms (paid, most powerful).
Step 2. Create the form. Every plugin has a form editor. Add name, email, message. Save.
Step 3. Set the notification email. In the plugin's settings tab, set the email address that receives submissions.
Step 4. Style it. WordPress form plugins inherit theme styles by default, which usually looks fine. Custom CSS if you want tighter control.
Step 5. Add the shortcode to a page. Every plugin generates a shortcode like [contact-form-7 id="17"]. Paste it into any WP page or post.
Total time: 5 minutes.
When this method fits: WordPress-only sites where you want everything inside the WP admin.
When it does not fit: Non-WordPress sites, sites where you want to route submissions to a CRM without a paid plugin, or sites where you cannot install plugins (managed WP hosts with restrictions).
Method 3: Google Forms (3 minutes, internal or lightweight forms)
Google Forms is free and works out of the box. Trade-off: you cannot deeply style it.
Step 1. Go to forms.google.com. Sign in with a Google account.
Step 2. Pick "Blank" or a contact template. Add a title, then add three fields: name (short answer), email (short answer with email validation), message (paragraph).
Step 3. Set the notification. In Responses > Get email notifications for new responses. Google sends you an email every time someone submits.
Step 4. Publish and embed. Send > Embed HTML > copy the iframe code, paste into your site.
Total time: 3 minutes.
When this method fits: Internal team forms, event RSVPs, low-volume feedback forms where design does not matter. If your users are already in Google Workspace, this is friction-free.
When it does not fit: Any customer-facing site where the form design matters. Google Forms looks like Google Forms, and that hurts brand trust on a customer landing page.
Method 4: Custom HTML form + third-party endpoint (10 minutes)
If you want a form that looks exactly like your site and you're OK with a small config step, use raw HTML plus a form-endpoint service.
Step 1. Get a form endpoint URL. Sign up for Formester's "Forms as an API" workflow (or Formspree, Getform). You'll get a URL like https://api.formester.com/forms/abc123/submit.
Step 2. Write the HTML. Paste this into your contact page:
<form action="https://api.formester.com/forms/abc123/submit" method="POST">
  <label for="name">Your name</label>
  <input type="text" id="name" name="name" required />

  <label for="email">Email</label>
  <input type="email" id="email" name="email" required />

  <label for="message">Message</label>
  <textarea id="message" name="message" rows="4" required></textarea>

  <button type="submit">Send message</button>
</form>
Step 3. Style it. Add CSS to match your site.
Step 4. Test. Submit a test message. It should land in the dashboard of whichever endpoint provider you signed up with, and you should get an email.
Step 5. Add spam protection. Every endpoint service ships spam protection. Turn on the honeypot field and rate limiting in your dashboard.
Total time: 10 minutes.
When this method fits: Sites where the form needs to look pixel-identical to your custom design, and you don't want to embed a third-party iframe.
When it does not fit: Non-developer teams. If you cannot write HTML, use Method 1 or Method 2 instead.
Method 5: Raw HTML + your own backend (30 to 60 minutes)
Full control. Your form, your server, your database. Use only when you need it.
Step 1. Write the HTML form. Same as Method 4, but the action points to your own endpoint, for example /api/contact on your own server.
Step 2. Write the backend endpoint. In Node.js, PHP, Python, or whatever your server runs, write an endpoint that accepts the POST, validates the input, saves it to your database or sends an email via SMTP.
Step 3. Send the notification email. Use an SMTP service like SendGrid, Postmark, or Amazon SES. Never send from your own mail server unless you know what you're doing with SPF, DKIM, and DMARC.
Step 4. Add spam protection. Server-side rate limiting per IP, honeypot field, and reCAPTCHA v3 if the form is public and high-volume.
Step 5. Store the submissions. Database, CRM API, or a queue. Never rely on email alone; email is not a durable store.
Total time: 30 to 60 minutes, plus ongoing maintenance.
When this method fits: Sites with strict compliance requirements (HIPAA on your own infrastructure), custom logic that cannot fit any hosted form builder, or teams that already have server infrastructure.
When it does not fit: Small sites where the cost of maintaining custom backend code is not worth it. For 95% of contact forms, Method 1 is the better answer.
Comparison: which method for which site
| Method | Best for | Time | Cost | Recommended |
|---|---|---|---|---|
| 1. No-code builder (Formester) | Any site, no coding | 2 min | Free | For most sites |
| 2. WordPress plugin | WordPress-only | 5 min | Free to $50/mo | If you're WP-locked |
| 3. Google Forms | Internal / lightweight | 3 min | Free | If design does not matter |
| 4. HTML + third-party endpoint | Developer-friendly + brand-perfect | 10 min | Free to $20/mo | If you want your CSS and their backend |
| 5. Raw HTML + own backend | Compliance or custom logic | 30 to 60 min | Your server cost | Only when you must |
Best practices, regardless of method
1. Keep fields to the minimum you actually need. Every extra field cuts submissions by ~10%. Name, email, and message covers most cases. Add fields only when you have a routing or qualification reason.
2. Say what happens next. "We reply within 24 hours" in the confirmation message beats a bare "Thanks, we got it". People bounce off ambiguity.
3. Ship an autoresponder. The person who just filled out your form expects a receipt. Even a one-liner "Thanks, we'll get back to you within one business day" earns trust.
4. Route submissions somewhere durable. Email is fine for low volume. For more than a few submissions a week, connect Google Sheets, Slack, or a CRM. Email inboxes lose things.
5. Test on mobile. Most contact-form submissions on modern sites come from mobile. Open your form on your phone and submit a real message before you ship it.
6. Add spam protection from day one. Honeypot at minimum. reCAPTCHA v3 if the form gets busy. A form with no spam protection fills with garbage within a week.
7. Style it to match your brand. A form that looks like a stranger's form breaks the flow of the page. Match colors, font, radii to your site.
Common mistakes we see
- The submit button is unclear. "Submit" is a UX-2005 word. Say what happens: "Send message", "Get a reply", "Start the conversation".
- The form is behind a required signup. A contact form asking someone to create an account first is not a contact form; it is a friction wall.
- Success screen says nothing. "Success!" is not helpful. Tell the person when they will hear back and from whom.
- No autoresponder. The most common miss. People assume the form failed if they get no confirmation.
- The form dumps to an inbox nobody checks. Set up a shared inbox or CRM routing before you publish the form.
- The form is hard to find on mobile. If it lives in a footer link, add a top-of-page CTA too.
Ready-to-use contact form templates
If you skip Method 1 and want the fastest possible start, drop one of these live Formester templates into your account and edit:
- General contact form
- Support ticket form
- Sales inquiry form
- Feedback contact form
- Freelancer project brief
- Real estate inquiry
- Event RSVP
- Bug report form
Every template ships on the free plan. Edit the fields, connect your email, and publish.