
Google Forms is a simple way to give students a quiz that grades itself, collect an exit ticket, run a morning check-in, take attendance, or collect a permission slip. Build the form once, turn on quiz mode when you need a score, and share it through Google Classroom or a link.
The tool stays the same for each use. What changes are a few settings: whether the form grades answers, whether it records who responded, whether a student can respond more than once, and what students see after submitting. Get those settings right and the rest is just writing the questions.
This guide covers seven common ways to use Google Forms with students, the settings each one needs, how to build a self-grading quiz, how to hand it out through Google Classroom, and what Google Forms cannot do for a class.
Quick answer
- Good for: quizzes with an answer key, exit tickets, check-ins, attendance, permission slips, homework hand-in and end-of-unit feedback. All are free with a Google account.
- How to hand it out: Use a Google Classroom quiz assignment if your school has Google Workspace for Education. Otherwise, share the responder link or a QR code. Classroom also adds locked mode on managed Chromebooks and grade importing.
- What it cannot do: Google Forms does not have a timer, a random question bank, or locked mode outside a school-managed Chromebook. One response per student and file uploads also require a Google sign-in.
What can you use Google Forms for with students?
Seven uses cover most classroom needs. Each one is still a regular Google Form plus one or two important settings. That setting is what makes the form work for the task.
1. A quiz that grades itself
Turn on Make this a quiz in Settings, then set the answer key and points for each question. Google Forms can automatically grade Multiple choice, Checkboxes, Dropdown, Short answer and grid questions as soon as a student submits. Paragraph answers still need to be graded in the Responses tab.
Setting: The setting that matters is Release grades. Choose Immediately after each submission for practice. Choose Later, after manual review if you want to review written answers before students see their scores. That option requires Collect email addresses to be switched on.
2. An exit ticket
Keep it simple: three questions at the end of a lesson. Ask students what they learned, what question they still have, and how confident they feel on a 1-to-5 Linear scale. Keep it short enough to finish before the bell.
Setting: There is no special setting. Leave quiz mode off. If you want to follow up with a named student, collect their email address. Then check the Summary tab before the next lesson.
3. A daily check-in
Use a mood scale, a Multiple choice question about how the week is going, and an optional Paragraph for anything a student wants you to know. You can use the same form every day. Make the title the name of the check-in and use the description to explain who reads the responses.
Setting: The setting that matters is Collect email addresses. Verified records the school account automatically. Do not collect keeps the responses anonymous. Say which option you are using in the description, because students may answer differently depending on whether their response is tied to them.
4. Attendance and sign-in
Create a form with the student's name and a Dropdown for the class or period. Put a QR code on the board so students can open it quickly. Every response has a timestamp, so the connected Sheet can act as the register.
Setting: Turn on Limit to 1 response if you want to stop students from signing in twice. Keep in mind that this requires a Google sign-in. Link the form to Sheets so the register updates as students submit.
5. Permission slips and parent information
Field trip permission, emergency contacts, photo consent and start-of-year information can all use the same basic setup: the student's name, a Checkboxes question for the consents, and a Short answer question for the parent's name as a signature line.
Setting: Turn on Allow response editing so a parent can correct a phone number later. Set Collect email addresses to Responder input so the confirmation has an address to go to. A typed name is not an e-signature, so check what your school accepts.
6. Homework and project hand-in
Use a File upload question so students can attach a document, a photo of their work, or a video. Add a Dropdown for the assignment and a Short answer for the title. The uploaded files go into a Drive folder named after the form.
Setting: File upload questions require students to sign in to Google, and the files use the form owner's Drive storage, not the student's. Set the file count and size limits on the question.
7. Course feedback
At the end of a unit, ask students to rate the pace with a Linear scale, choose what helped most with Multiple choice, and explain what they would change with a Paragraph. Keep it anonymous by default. Students are more likely to write honestly when the form does not identify them.
Setting: Leave Collect email addresses set to Do not collect and keep Limit to 1 response turned off. Say in the description that the feedback is anonymous.
Settings at a glance
| Use | Question types | Settings to switch on |
|---|---|---|
| Self-grading quiz | Multiple choice, Checkboxes, Dropdown, Short answer | Make this a quiz, answer key and points, Release grades |
| Exit ticket | Short answer, Linear scale | None. Collect email addresses if you follow up |
| Daily check-in | Linear scale, Multiple choice, Paragraph | Collect email addresses: Verified or Do not collect |
| Attendance | Short answer, Dropdown | Limit to 1 response, Link to Sheets |
| Permission slip | Checkboxes, Short answer | Allow response editing, Collect email addresses: Responder input |
| Homework hand-in | File upload, Dropdown | Sign-in is automatic. Set file size and count limits |
| Course feedback | Linear scale, Multiple choice, Paragraph | Do not collect, Limit to 1 response off |
How do you make a Google Form for students?
The example below is a short science quiz. A quiz uses most of the settings covered above, plus a few more. If you are making something that is not graded, skip the quiz setup step.
-
Start with a Blank form or an Education template

Open forms.google.com and select Template gallery. The Education section includes Blank Quiz, Exit Ticket, Assessment, Worksheet and Course Evaluation templates, with the relevant settings already turned on. Blank form starts with one empty question and no special settings enabled.
-
Turn on Make this a quiz

Open Settings and turn on Make this a quiz. Each question now has an Answer key link and a points box, and the Responses tab gets a score summary. It is best to do this before writing the questions so you can set the answer key as you go.
-
Write the questions and set the answer key

Add a question, choose Multiple choice, enter the options, then open Answer key. Select the correct option and set the points. You can also add answer feedback if you want a student who gets the question wrong to see an explanation or video. Short answer questions can use a list of accepted answers.
-
Choose what students see

Under Release grades, choose Immediately after each submission or Later, after manual review. Under Respondent settings, decide whether students can see missed questions, correct answers and point values. For a test, hide all three until you release the grades.
-
Decide who can respond

Under Responses, set Collect email addresses to Verified so each score is tied to the student's account, and turn on Limit to 1 response. School accounts can also use Restrict to users in your domain. Keep that setting on for a class and turn it off when parents need access.
-
Publish and hand it out

Click Publish and copy the responder link. You can shorten the URL or make a QR code for the board. If your school uses Google Classroom, attach the form to a quiz assignment instead.
How do you assign a Google Form to students in Google Classroom?
Google Classroom requires a Google Workspace for Education account provided by the school. With it, a Google Forms quiz becomes an assignment with a due date and two useful options that a plain link does not provide.
In Classroom, open the class, select Classwork, then Create and Quiz assignment. Classroom creates a blank Google Forms quiz and attaches it. Open the attachment to build the quiz, or use Create and Assignment if you already have a form in Drive.
Locked mode on Chromebooks: Students using school-managed Chromebooks cannot open other tabs while the quiz is open. You also get an email if a student leaves the quiz and comes back. Students on other devices cannot open a locked-mode quiz, so turn it off for classes using mixed devices.
Grade importing: Turn it on when you create the assignment. After the due date, open the assignment and click Import grades. The Forms scores are added to the Classroom gradebook. The two sets of grades remain separate, so if you regrade in Forms, import the grades again to update Classroom.
If you are not using Classroom, the responder link works for any student who has the URL. Collect email addresses if you need to identify respondents, and share a shortened link in the class chat.
Which question type fits each classroom task?
| Task | Type | Grades itself? |
|---|---|---|
| One right answer from a list | Multiple choice or Dropdown | Yes |
| Several right answers | Checkboxes | Yes, when every correct option is ticked |
| A word or a number | Short answer | Yes, against a list of accepted answers |
| A written explanation | Paragraph | No. Points and feedback by hand |
| A row of items to rate | Multiple choice grid | Yes, per row |
| Confidence or mood | Linear scale or Rating | No score, a chart |
| A file | File upload | No. Needs a Google sign-in |
| A date or a time | Date, Time | No |
How do you read what students answered?
The Responses tab has three views. Summary shows frequently missed questions, a chart for each question with the correct answer marked, and the average, median and range of scores. This is the view to check before the next lesson.
Question view lets you grade one question across the whole class. You can mark a group of answers correct, give partial points, or add the same feedback to everyone who wrote the same thing.
Individual view shows one student at a time, with a points box and feedback field under each answer. If grades are set to release later, you can release the score from the top of each response. Select students and click Send emails and release. Linking to Sheets puts every response into a spreadsheet, which can then feed into an assessment dashboard.
What Google Forms cannot do for students
- No timer: There is no countdown or per-student time limit. A close date ends the quiz for everyone at once. Per-student timing requires an add-on or another tool.
- Locked mode is Chromebook-only: It requires a school-managed Chromebook and a Classroom assignment. On a phone, laptop, or personal Chromebook, the quiz behaves like a normal web page alongside other tabs.
- One response needs a sign-in: Limit to 1 response only works for students signed in to Google. That makes it unsuitable for a class using a shared device or for a parent without a Google account.
- No question bank: Every student gets the same questions. The available randomisation is Shuffle question order in Presentation settings and Shuffle option order on an individual question.
- File uploads use your Drive: Uploaded files are stored in the form owner's Drive and require the student to sign in. That means a file hand-in form cannot be anonymous.
- No partial credit in the answer key: A Checkboxes question is correct only when every correct option is selected and nothing else is selected. Partial points have to be given manually in Question view.
Where Formester fits
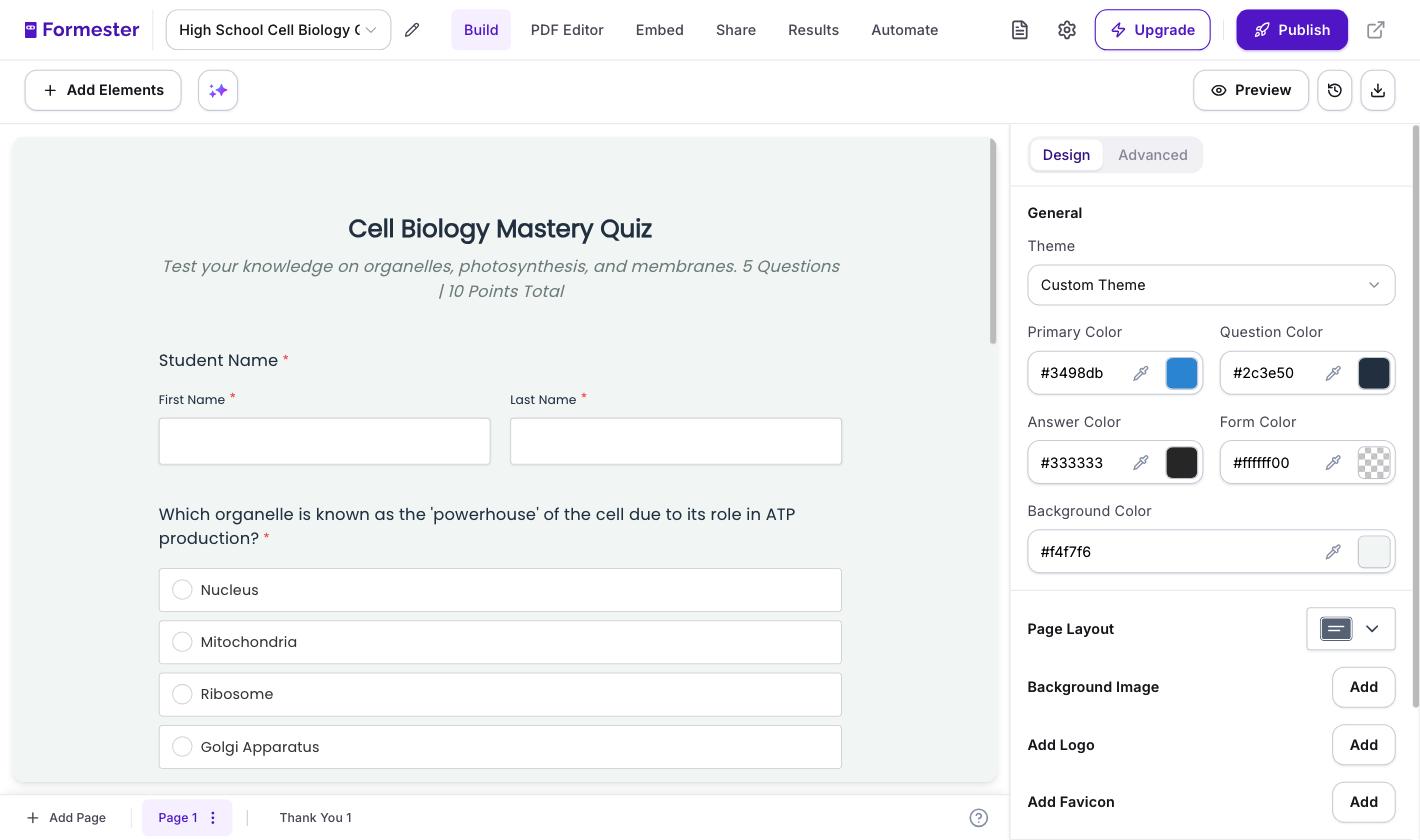
Formester's AI quiz maker can create the quiz for you. Enter the topic and grade level, paste in a list of questions, or upload the lesson PDF. It returns the questions, answer key and points, ready for you to edit. True or false questions come out as two-option single-choice questions.
The quiz features also cover several things Google Forms does not: a timer for the whole quiz, negative marking for wrong answers, a pass mark, retakes limited by email or IP address, and the student's score on the thank-you page. Results include a per-question breakdown and show where students dropped off.
Formester does not send grades into Google Classroom or another LMS. You share the quiz by link, QR code, or embed, then view the results in Formester or export them.
For other classroom uses, Formester has course evaluation, attendance, and field trip permission templates available on the free plan, with no cap on forms or responses.
A quiz with the answer key written for you
Enter the topic or upload your notes, set a timer and pass mark and share the link with the class.
Try Formester freeFree forever · No credit card · 56,000+ teams
Related reading
- How to create a quiz in Google Forms, the full quiz setup with feedback and grading.
- How to make an auto-submit quiz in Google Forms, for a quiz that closes itself.
- How to collect student registrations without spreadsheets, for the admin side of a class.
- Form automation for teachers, on the follow-ups a form can send by itself.
- How to use Google Forms, for the builder itself.
- How to link Google Sheets to Google Forms, for the register and the gradebook.